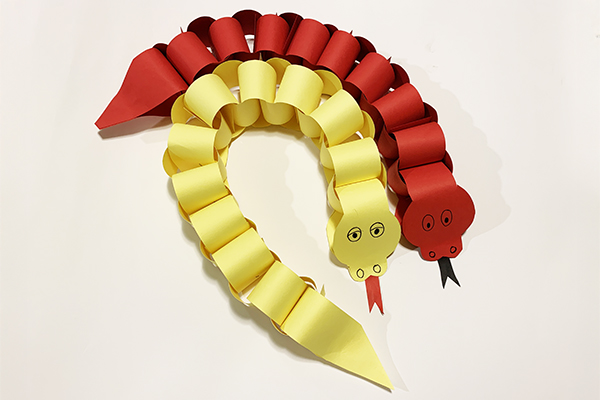
2025 is the Year of the Snake! Lunar New Year is celebrated by one fifth of the world’s population in countries such as China, Korea, Vietnam, Thailand, Malaysia and Singapore as well as diasporic communities. Each year is represented by one of the 12 animals in the Chinese zodiac. Kids will love crafting this easy snake out of paper to honor this year’s Chinese zodiac symbol.
The Lunar New Year celebration begins with the first new moon of the lunar calendar (this year, it starts Jan. 29, 2025) and typically ends 15 days later on the first full moon of the lunar calendar. There are many days of family celebrations and religious ceremonies, with red envelopes given, lion and dragon dances and fireworks. The Lantern Festival is on the final Lunar New Year celebration day, featuring colorful lanterns and traditional foods like sticky rice balls and dumplings.
Here’s how to make an easy paper snake for the Year of the Snake:
SUPPLIES
4-6 sheets of 8.5” x 11” construction paper or cardstock in bright colors (I used red and yellow cardstock)
Pencil
Scissors
Ruler (optional)
Glue or glue stick
Paperclip or clothespin
Stapler
Markers (to draw the face and add optional patterns to the snake segments)
DIRECTIONS
Cover your workspace with an opened large paper bag, placemat or plastic cloth. Note: measurements are based on 8.5” x 11” cardstock.
- Cut strips of paper about 2 inches wide by 8.5 inches long. The more strips you use, the longer the snake will be. I used 17 strips for the red snake and 21 for the yellow.
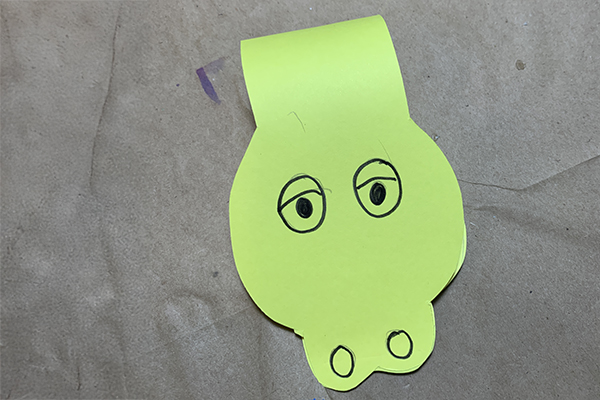
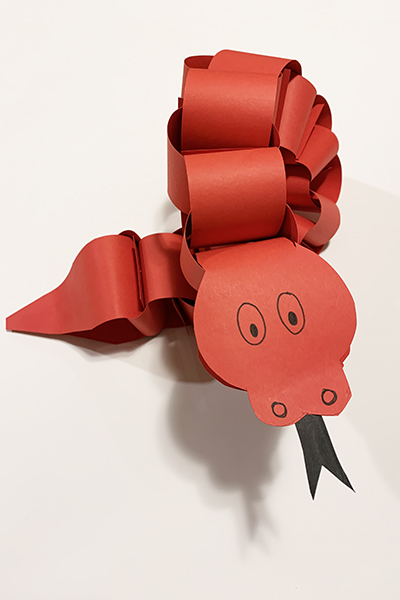
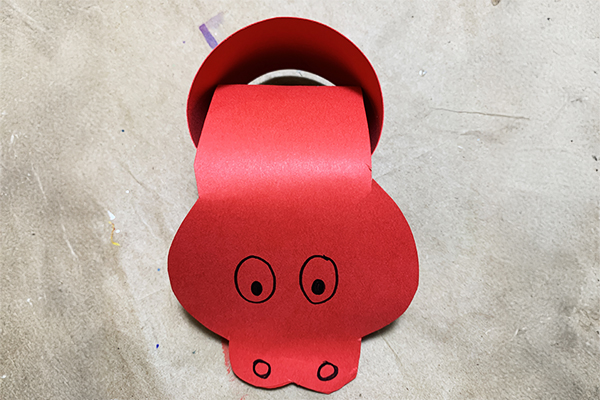
- Using the printable pdf (CLICK HERE), cut out the head for the snake. Place the pattern on the fold of the cardstock and trace one side so that both sides are symmetrical. See photo of finished snake for reference. Draw eyes and nostrils. Set aside.
- For the tail, fold one of the strips in half and taper the tail to a point (see finished photo for reference). Set aside.
- To make a tongue, cut a strip that is 2 inches long and ½ inch wide. Cut a thin triangle out of the end to make the tongue “forked.”
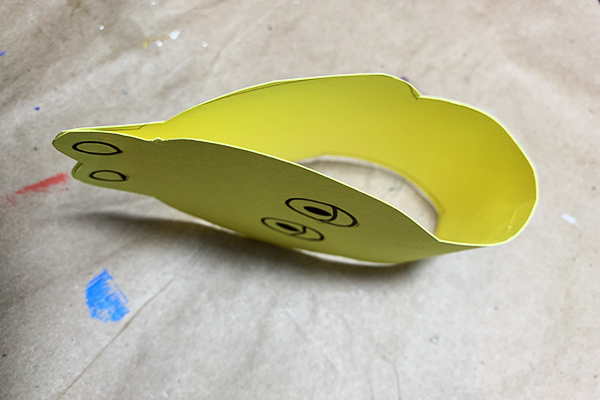
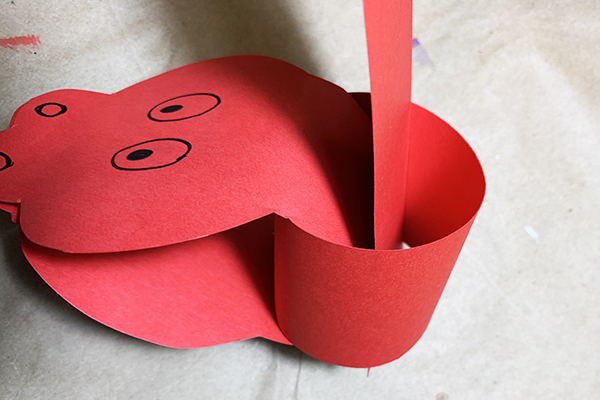
- To assemble, begin by looping the head of the snake, gluing the two nostril ends (but place the tongue in between the ends before securing). Use a paperclip or clothespin to hold the tongue in place and nostrils together while it dries.
- Add the first ring of paper to the head by threading it through the head loop and gluing or stapling it closed. Continue to do this until the snake is as long as you want. More loops make the snake longer. Note: Tighter loops prevent the snake from being flexible. Make the loops a little bigger if you want more “movement” in the snake.
- For the tail, thread the pointed paper through the last snake body loop and glue the ends of the tail together. Hold with a paperclip until it dries, if needed.
Alyssa Navapanich is an award-winning art educator who teaches art to elementary school kids in East County San Diego.
