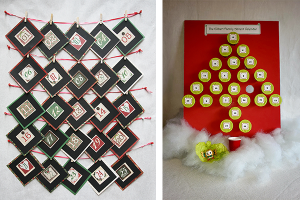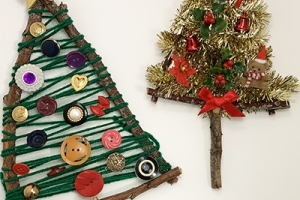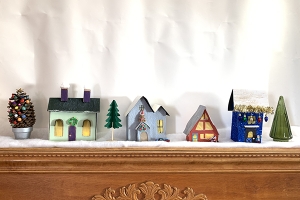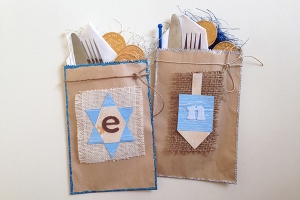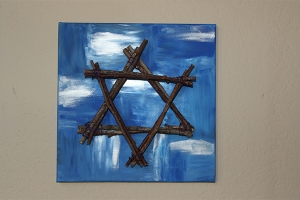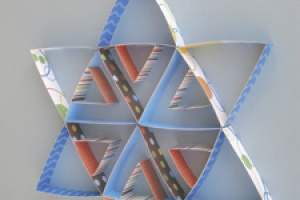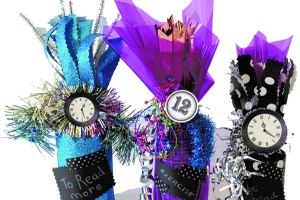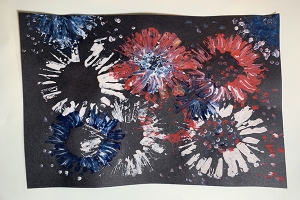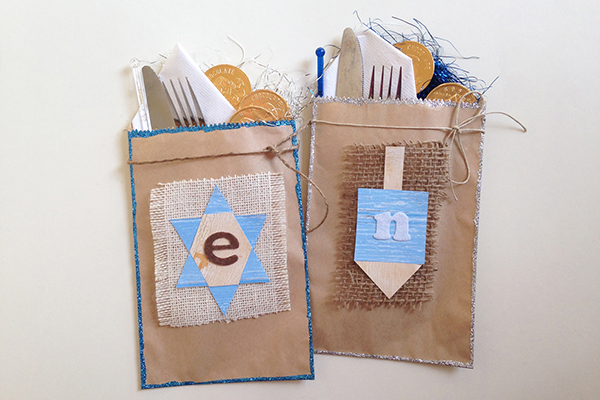
These happy Hanukkah bags serve as place card (or utensil) holders for the holiday table and make festive party favors!
Supplies
Small, flat brown (or white) paper bags
Scraps of blue, white, silver paper
Small piece of burlap
Blue or silver glitter
Alphabet stickers
Short length of twine
Tinsel (optional)
Scissors
White glue
Double-sided tape
Directions
1. Apply a thin line of white glue along one front edge of the paper bag; then cover the wet glue with glitter.
2. Shake off excess glitter; then repeat the last step on the other three edges of the bag.
3. Set the bag aside and allow the glue to dry completely.
4. Meanwhile, cut a square of burlap to fit on the front of the bag as shown in the photo.
5. Use scissors to cut a simple Star of David or dreidel shape from scraps of colored or patterned paper.
6. Use double-sided tape to attach the burlap and then the paper design onto the front of the bag.
7. In the center of the design apply an alphabet sticker to match the initial of your guest’s first name.
8. Carefully tie twine around the top edge of the bag.
9. Stuff the bag with a little festive tinsel if desired.
10. Make as many bags as needed; then fill them with dining necessities like silverware and napkin. If desired, add fun treats like chocolate gelt or other little goodies!
More tips and ideas:
• Draw or stamp designs or patterns on the paper bag before decorating it.
• Use felt, fabric or paper instead of a piece of burlap.
• Chipboard, felt, paper or stamped letters can be used for the initial, too.
• Simply write the initial (or full name) with marker.
• Add extra glitter, sequins or crystal to the design for extra sparkle.
• Instead of tinsel, stuff the bag with a little gift tissue or cellophane.
• Tie pretty ribbon around the bag in place of twine.
• Try decorating candle holders in the same way.
• Make versions of this favor bag for any event or holiday.
-----------
Pamela Maxwell is an artist, author and mother of two growing boys. Her craft and scrapbooking projects have appeared in numerous books and magazines. Photos by Pamela Maxwell.
